Learn how to Conduct a running shoe assessment
Running shoe assessment step 1
Running is a beautiful, simplistic lifestyle. One of the main reasons for its simplicity is you only need running shoes. Therefore, it makes sense to gain insight into a running shoe assessment. Step one is to find the oldest pair of running shoes and turn them upside down to inspect the sole. In this step we are analyzing the wear & tear of the tread. During this step its worth mentioning that pure running shoes (ie. not been used for a lot of walking), can help with assessment accuracy.
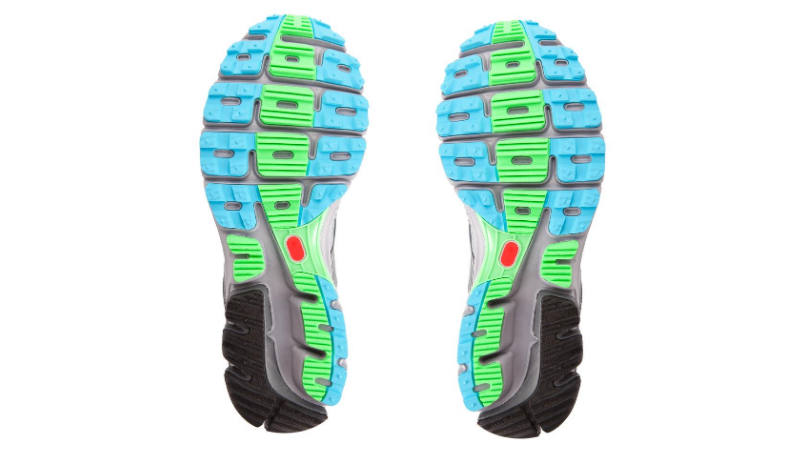
Next, have a close look at the location of sole wear. Compare this from right to left and from heel to toe. This pattern is different for every runner because everyone has a different technique. When first making contact with the ground, runners can either contact with their heel, mid-foot or towards the toes. For this reason, we see patterns underneath the shoe that paints an interesting picture.
Step 2:
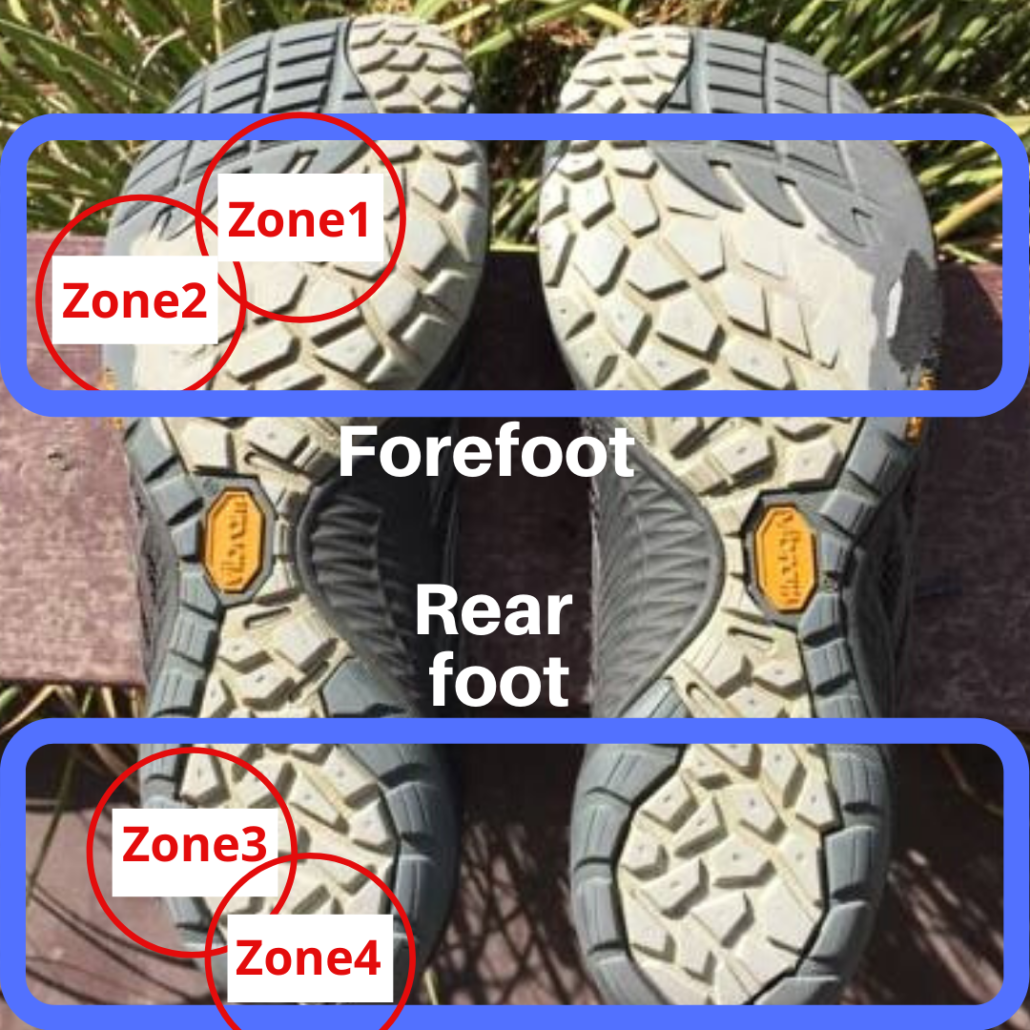
After having a close look at the shoe sole, you need to section the area into ‘zones’. Below is a picture of my shoes and the 4 zones you need to inspect. Look closely, because there may be subtle differences from right to left which might indicate a harder foot fall, or a stronger push off on one side.
Step 3: Interpretation
When the majority of the sole is worn out through the ‘forefoot’ (zone 1 or 2), it increases the likelihood of being a forefoot runner. That means the initial contact on the ground is towards the toes, increasing the demand on the calf, achilles and foot structures. Balancing the equation, this running style also reduces pressure on the knee.
On the other hand, if the worn out pattern is within zone 3 or 4, this runner is likely heel striking. This equation is balanced in the opposite direction with more force generated through the knee on impact and less demand on the calf complex.
Another element to investigate is a width or narrow step width. If zone 1 or 4 is showing a worn out pattern, this indicates a wide step width. Personally, I think this is a healthier running style with a well-balanced and aligned technique. Conversely, zones 2 & 3 show evidence of a narrow or ‘crossover’ running pattern. This can be an issue for some runners and worth learning about it this blog here.
Analysis of my own shoes
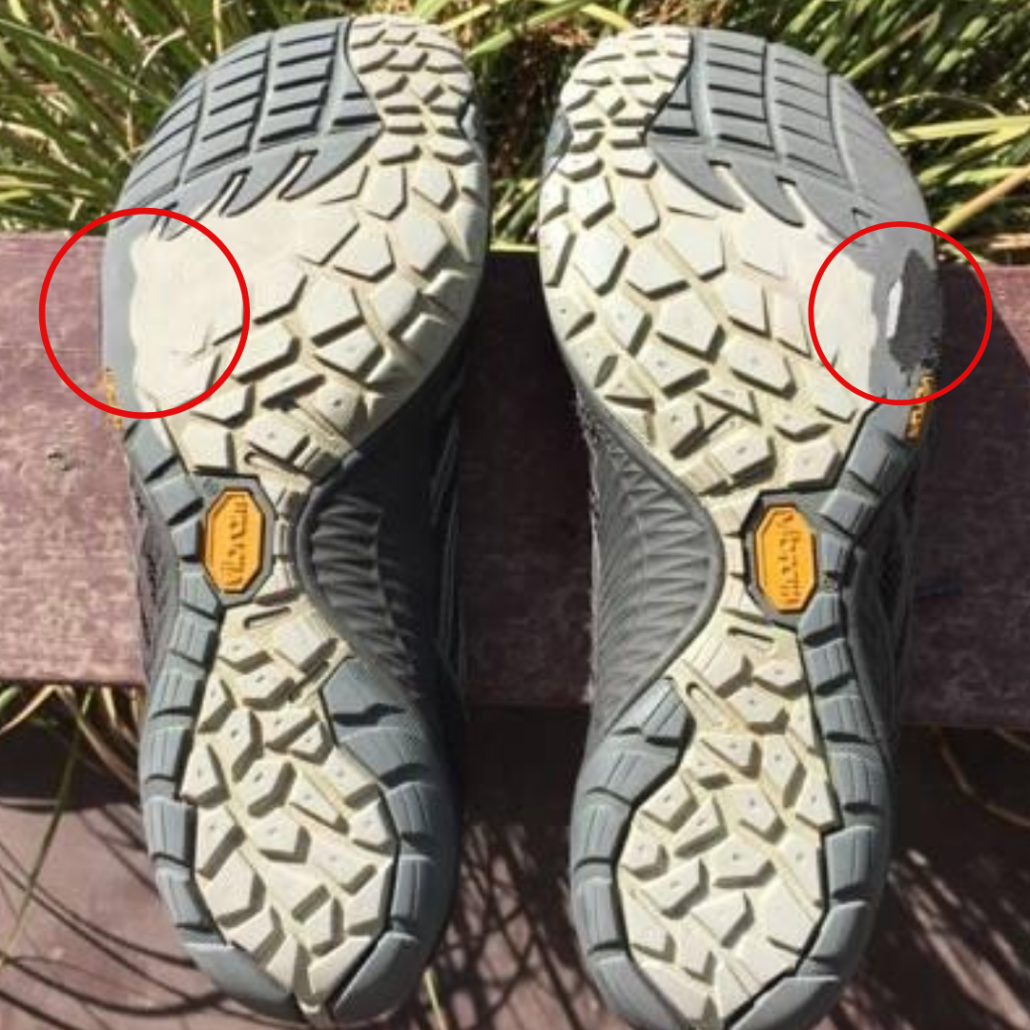
Because these concepts are difficult for a beginner, i’ll demonstrate with my own shoes. So, these shoes have more wear patterns throughout the forefoot. And the heel is virtually untouched! On closer inspection, zone 2 of the shoe on the right is the most significant. Therefore, this increases the likelihood of a forefoot strike, with a narrow step width, and more force generated through the left foot (shoe seen on the right).
Relevant Blogs:
Shoe prescription misconceptions
How to transition to a lesser shoe
Relevant Podcast Episodes:
Is a carbon fibre shoe right for me? With Simon Bartold
Is there a right & wrong running shoe? With JF Esculier
Using shoes as tools to overcome injury? Matt Klein
